How do you train for a trek?

How do you train for a trek?

Planning for a spring or summer trek? Have you thought about training for it? Elisabeth Moreau, personal trainer and trekker will guide you.

Backpack, walking shoes, everything's all set for your trek. Just one more thing to check. Is your body ready for the effort you're about to require? It might be your first one, or maybe a more challenging trek than usual, so to put luck on your side and fully enjoy your trek, Elisabeth Moreau, physical therapist and trekker, will guide you to get the most enjoyment from your walk.

Why prepare physically for a trek?

"Often, people setting out on a trek do not necessarily realise the physical and mental resources they'll need," begins Elisabeth Moreau, personal trainer. "Based on the terrain of the trek, your general level of physical fitness, and even where you live (flat areas are less helpful), you can encounter more or less difficulty." So to have the most pleasant experience possible, it's best to limit the risk of injury by training your entire body.

💡Tip from Elisabeth: I recommend choosing a trek based on your basic physical fitness and the time you have to prepare. That reduces the risk of injury and joint pain, and increases your chances of having fun!

How much time should you train before setting out on a trek?

Elisabeth doesn't make any firm pronouncements on the issue: "The length of training before a trek will depend on many factors. The level of difficulty of the trek you've chosen, if it's a several-day trek, and your basic physical fitness." In general, training for 2 weeks before your trek when you aren't already used to walking isn't going to be of much use. Elisabeth guides us towards a physical training period of 3 to 4 months before departure. To adapt based on daily exercise practices, of course. For regular walkers - that is, for those who have dedicated at least two hours a week to walking at a moderate pace for the past 6 months - your training has taken place throughout the year, so all that's left is to add some strength training workouts.

Still, plan for around 3 workouts a week lasting between 30 minutes and 1.5 hours for the best preparation.

How do you train for a hike or a trek?

For a hike, you need a strong heart and solid legs. For a trek, you'll add the weight of a backpack. So you'll need a strong core as well! And Elisabeth won't say otherwise, since even as a cross training practitioner, she felt the weight of that infamous backpack during her first trek!

What does good physical preparation look like?

For good training, the recipe is almost simple. After you plan out your route, you more or less know what awaits you. How much gradient? How much altitude? What daily distances are you planning? What type of surface? Rock, snow, pavement? Once you've done this little analysis, you'll be able to create a workout programme that will involve the different physical abilities required by your trek.

What physical qualities should you work on to get luck on your side for a trek?

For Elisabeth, there are two main physical skills to develop and maintain in order to go trekking:

● Cardio: to develop cardio, you can first focus on long, moderate-intensity physical activities. And if your trek has a lot of steep gradients, don't hesitate to do some """interval " training to promote endurance. That involves shorter training sessions with variations in intensity that can go back and forth between low and high intensity.

● Strength: to develop strength, weight training or strength training are your friends. Your workouts can be oriented more specifically towards your core and specifically strengthening the muscles that stabilise your knee and ankle joints. The goal is to reduce the risk of injury and be able to cushion the shocks related to the weight of the backpack on your body.

What type of training do you need? Take the test!

According to our coach, physical preparation depends on each individual's weaker points. Two people leaving for the same trek won't necessarily need the same training. For good training - meaning, training that's adapted to your needs - inventory your strengths and weaknesses and adjust your preparation accordingly! a how-toElisabeth proposes doing a test by going for a walk for several hours (1.5 to 2.5 hours) in near-trekking conditions: "Two or three long walks with a 10 to 15 kg backpack. You'll become aware of the effort that awaits you. Ultimately, for me, it wasn't the weight of the bag that bothered me most, it was pain in my feet.

Feedback: What about you - how do you feel with a loaded backpack? What bothers you the most? Your breathing? The strength of your legs? The weight on your shoulders? After that, focus on the physical aspect that seems the most relevant to improve.


● For shortness of breath,

⇒ outdoors, try interval workouts (between 30 and 45 minutes with variations in intensity) or endurance sports (walking, cycling, running, swimming) at a moderate intensity for a longer time (between 1-1.5 hours).

⇒ at the gym, head towards machines like exercise bikes, cross trainers, or rowing machines, or group exercise classes focusing on cardio training. (between 1-1.5 hours, varying machines)


● To feel more solid on your legs,

⇒ at the gym, try strength training with just your body weight. Then, move towards slightly heavier loads, such as: 5 sets of 10 squats with a bare bar (unloaded) on your shoulders.

⇒ At home: with exercises without equipment such as squats, Bulgarian lunges, wall sites and hip thrusts.


● To not suffer under the weight of the backpack,

⇒ To do anywhere: in addition to strengthening your back, work your core with 3 sets of 30 seconds for plank, side plank, and reverse plank.

Nothing is like a coach to help you during your training period. At least you'll be sure that they will adapt the workout to your weaknesses and your level (exercises, loads, number of reps, etc.)

How do you prepare for walking at altitude?

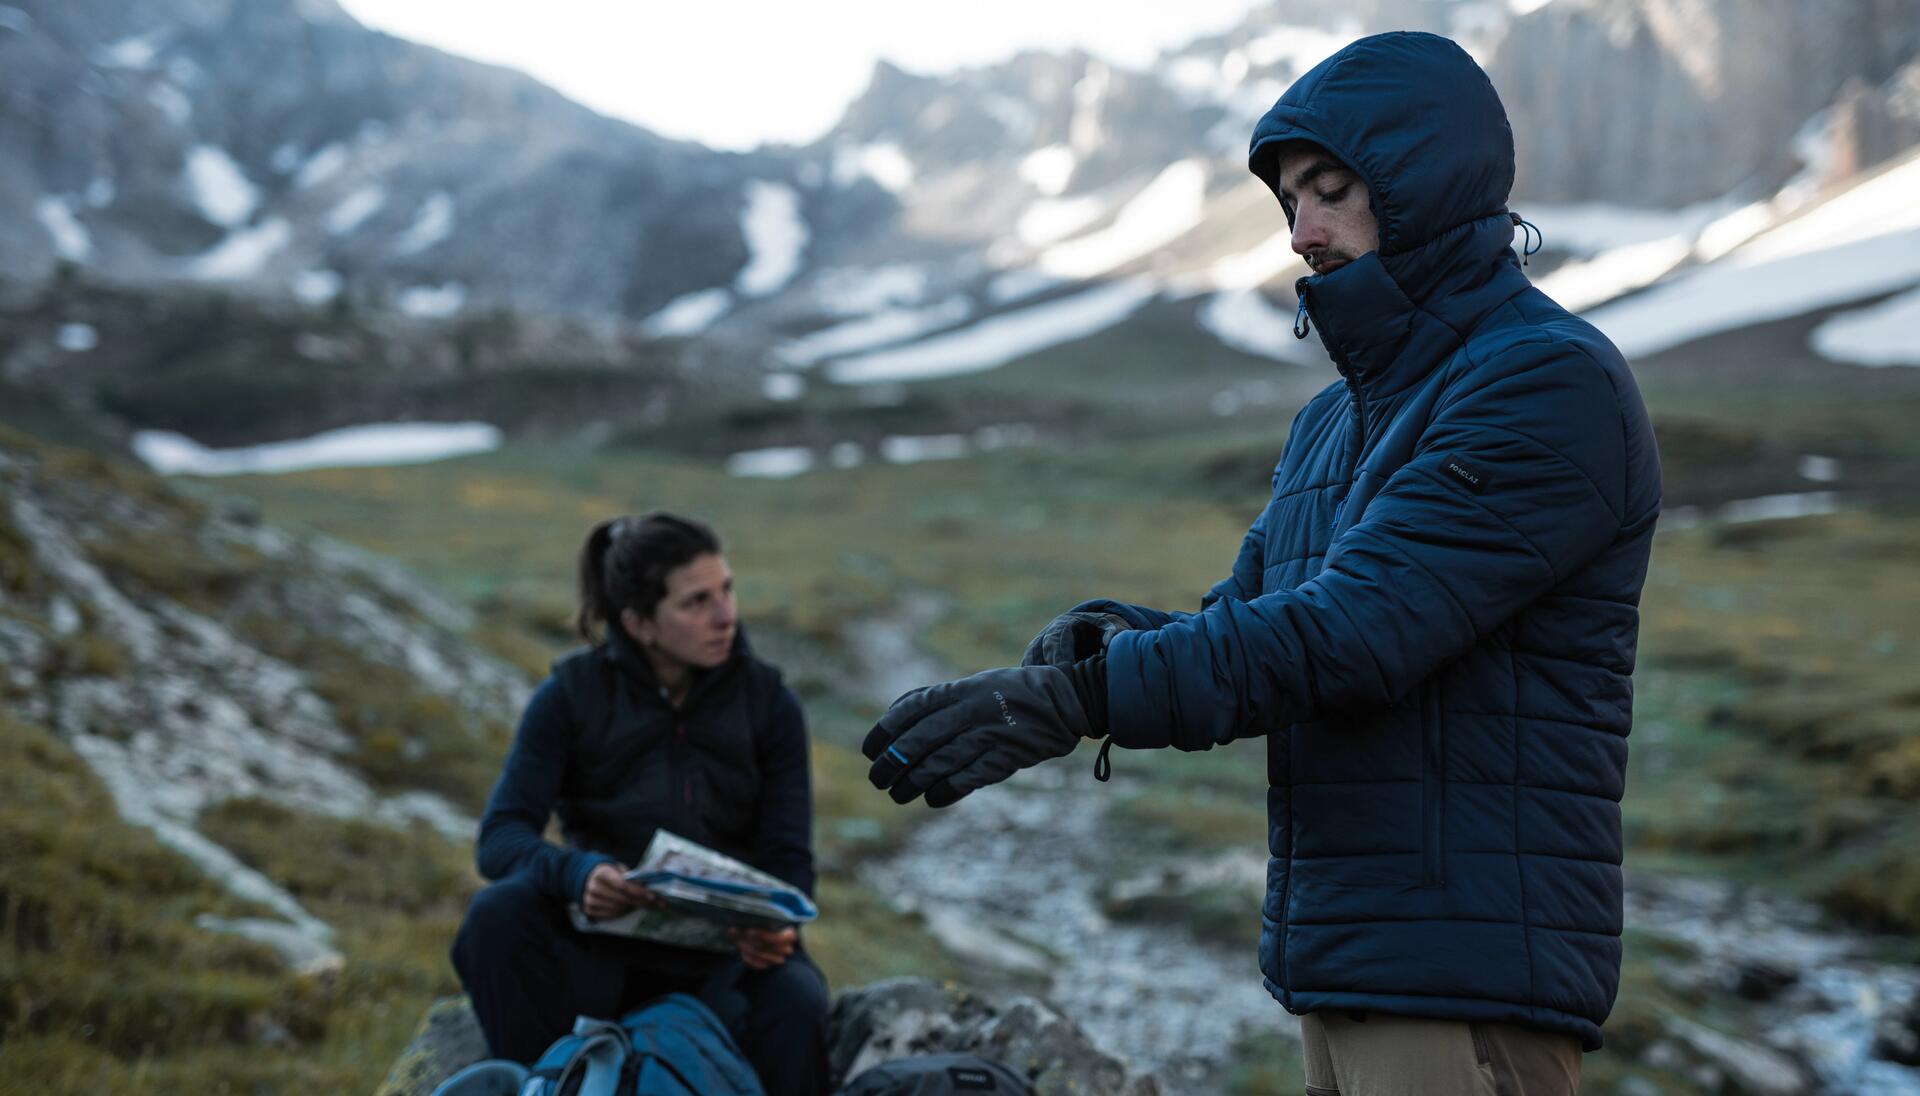
Atmospheric pressure depends on altitude - the more you climb, the less oxygen there is in the air. You breathe in less oxygen with each respiratory cycle, and that's where you can feel slightly short of breath. What can you do to better handle an altitude change? Progressive, regular training remains the best solution for improving your cardio and your breathing!

Specific exercises or sports to add to your workout

Workout 1 Lower-body strength training

🦵 3 exercises for gently strengthening the legs and knees! Don't forget to adapt the number of reps to your level. Do between 4 and 6 rounds of each exercise, keeping the same number of reps per workout. Feel free to increase the number of reps and/or rounds each week.

EXERCISE 1: box step up

(you need a sturdy chair)

Number of reps: 1 to 3 sets of 6 to 12 reps on the right, then on the left

Execution: step up and down from the chair, making sure to place the entire foot on the platform - no need for speed. Push through your supporting foot, making sure not to get energy from the other foot. Tighten the abs for greater stability. Exhale when stepping up, inhale coming down.

Lower difficulty: try this exercise with a step

Greater difficulty: carry a weight or a water bottle to add weight to the movement.

Exercise 2: hip lifts (raised)

• Number of reps: 1 to 3 sets of 10 to 15 reps

(keep your chair :))

Execution: lie down on your back and place your feet hip width apart at the end of a chair, knees bent to 90°. Push into your feet and contract your glutes. The back of your thighs should be in line with your back. Exhale when rising, inhale coming down.

Lower difficulty: try the exercise with both feet on the ground.

Greater difficulty: hip lifts on one leg and/or add an elastic band slightly above the knees to create resistance

Exercise 3:  wall sit

(This time, you won't need a chair! Instead, go find a section of wall)

Number of reps: 1 to 3 sets, hold for 20 to 45 seconds.

• Execution: press your back to the wall, with feet hip distance apart. Slide down until your knees are at 90°. Hold this position, making sure to keep the back and shoulder blades against the wall. Remember to breathe calmly by activating the deep muscles (contract the perineum and transverse abs).

• Lower difficulty: reduce the hold time.

• Greater difficulty: raise one leg, then the other, and/or lean against a Swiss ball to create instability.

Workout 2: “Endurance” Cardio

😮‍💨 For your cardio workout, the goal is to alternate periods of intense effort with short periods of rest. Here, Elisabeth suggests a session of cardio with some strength training exercises, which could also apply to a session of running or cardio machines like a rowing machine.

(20sec effort / 10sec recovery) x8 = 4’
Jumping jacks
⇒Knee raises

(20sec effort / 10sec recovery) x8 = 4’
Squat
⇒Static lunge (2x20sec right leg / 2x20sec left leg)

(20sec effort / 10sec recovery) x8 = 4’
Mountain climbers
Burpees

(20sec effort / 10sec recovery) x8 = 4’
Press-ups
Static plank on palms

Greater difficulty: increase your effort time (30sec effort/20sec recovery, 40sec/20sec, 45sec/15sec)

Workout 3: Upper body strength training and core

💪 3 exercises for strengthening your arms so you aren't surprised by soreness from your trekking poles (oh yes, your legs aren't the only things walking!) Don't forget to adapt the number of reps to your level. Do between 4 and 6 rounds of each exercise, keeping the same number of reps per workout. Feel free to increase the number of reps and/or rounds each week.

EXERCISE 1: tricep press-ups

Number of reps: 4 to 6 sets of 6 to 12 reps

Execution: plank position on knees or with legs extended. Place your hands on the ground, aligned with your shoulders. Bend your elbows so you're as close as possible to the ground (remember you'll need to go back up!), elbows stay in close to your body, pointing towards your feet. The back remains straight (contract the abs) and your gaze points towards down to keep your neck aligned with your back.

Lower difficulty: try the exercise on your knees, and don't lower as far.

• Greater difficulty: increase the number of reps

Exercise 2: dips on a chair

(use a chair or couch)

Number of reps: 4 to 6 sets of 8 to 15 reps

Execution: the chair is behind you. Place your palms on the edge, heels on the ground, and legs slightly flexed. Your glutes stay close to the chair. Bend your arms up to 90° at the elbows, keeping them aligned with your body (don't point them outwards). Raise back up by pressing into the palms of the hands (try not to help yourself with your legs), still while keeping your back straight.

Less difficulty: try the exercise on a lower platform.

Greater difficulty: the same exercise with the legs extended.

Exercise 3: front & side plank

Number of reps: 3 to 5 sets, hold for 20 to 45 seconds on each side.

Execution: face the ground, resting on your forearms with shoulders aligned with your elbows. Push into both feet so you are in a plank position. Glutes shouldn't be too high (not in a triangle) or too low (don't hollow the back). Contract the abs. Breathe calmly, activating the deep muscles on each exhale (perineum and transverse).

Less difficulty: try the plank on your knees.

Greater difficulty: raise one leg, then the other and/or one arm, then the other (or both, alternating)

You can also add all these exercises to your workouts to create a well-rounded training routine, without forgetting a few days of walking to notice your progress.

💡Tip from Elisabeth: cross training is a well-rounded sport that is well-suited to training for a trek. Strength training, cardio, endurance, it's all there so your body will be ready to climb!

Equipment is part of training

After your several-hour trekking experiment, you might find that your body wasn't the only thing that made you suffer. The different movements that you do while walking can cause repeated rubbing in different places: heels, under the armpits, or between the thighs... There are solutions to reduce the risk of these uncomfortable sensations.

How do you train for a trek?

According to Elisabeth, it is important to know what the weather will be during your trek. If you'll be faced with heat, remember to bring sunscreen and a cap that covers your neck, for example. As for blisters, in addition to testing her shoes for 2 or 3 walks before her trek, our expert just has one thing to say: "Rain protection." Oh yes, humidity in your shoes causes rubbing, so don't hesitate to wear overtrousers. That could save your trek!

Another accessory Elisabeth recommends: trekking poles. "It helps distribute the effort between your arms and legs. They help push and give energy during climbs. On descents, trekking poles stabilise your footing and have a shock absorbing effect against the weight of your backpack.

The weight of your backpack is an important factor to consider during a trek. So for both your food quantities and the weight of your tent, you need to calculate well. Elisabeth specifies: "It's important not to overload yourself. Consider the issue of food, and if you are really carrying it with you, or if there are refuges on your route. Same with a tent - it's often possible to rent one on site for a night."

Physical training for a trek, fine - but mental?

Mentally, to train for a trek - and like any sporting event that requires you to push yourself physically - your mindset participates greatly in your efforts.

"It's important, just like with anything you undertake. You need to set achievable goals that are suited to your level, especially if this is your first trek; otherwise, you might quickly want to give up," confides Elisabeth.

For example, for a trekking beginner, Elisabeth recommends not setting time goals, but rather aiming to complete the trek: “That way, you won't focus on your walking pace, but rather on the experience you have. You'll finish your trek feeling proud. On the other hand, if you set a specific time goal that is too short based on your level, you'll be set up to fail from the beginning, and it'll be mentally harder to complete the trek.

So, even if goals give meaning to your effort and help keep you going, set an attainable goal.

💡Tips from Elisabeth: Always have a plan B and be flexible with your goals. Have your route in mind and consider different possibilities that arise. Based on the people you'll meet, listen to locals and guides to adapt your itinerary. Things never happen as planned, and you'll sometimes need to choose your route based on the weather and your fitness level on a given day!

Although physical training is a good idea for trekking, remember that it doesn't eliminate all risks of bumps along the way. No matter what happens, vigilance will be a part of the trip, alongside the pleasure of discovering beautiful landscapes. Have a good trip!

A big thank you Élisabeth for sharing her experience!

How do you train for a trek?

Céciliane

Journalist and personal trainer

Great fan of artistic activities, and always ready to follow big sporting events!

More articles you may be interested in

HOW DO I EQUIP MYSELF FOR DESERT TREKKING?

HOW DO I EQUIP MYSELF FOR DESERT TREKKING?

It's not easy to know what to take on your first desert trek !Here's a list to help get those suitcases fastened...

8 good reasons to hike even under the rain - teaser

Hiking in the rain : 7 good reasons

Before you admit defeat by bad weather, check out all the advantages of a hike in the rain. When it rains, all of nature blooms.

Having a period when on a long hiking trek

HAVING YOUR PERIOD ON A TREK

Are you hesitating about going on a trek because you’re due to have your period during the trip? The girls from team Forclaz, are on it and share with you their solutions for trekking even when you have your period!